Showing posts with label DIY. Show all posts

DIY Homemade Butter from Raw Milk

Occasionally we buy raw milk from a local dairy farm. It's an amazing farm and it's fun to go and see the different kinds of animals! If you were to picture a farm from the storybooks, this is the farm! By buying raw milk, you get the cream! Since I had never separated cream before or made butter for that matter, I was a rookie at this but believe me, I WILL do this again! Probably EVERY time I buy milk from them! If you don't have access to raw milk, that's ok - you can do the same thing with heavy cream bought from the store! 

At the farm you have to bring your own container so I use my glass sun tea jar with a spigot. Then, when you are using it,  the cream all goes to the top and you can use the milk down at the bottom. It has the consistency of 2% milk that way. When the cream gets close to the spigot, it's time to make butter! 


I have no idea how other people do it, I'm sure there are different ways but this worked well for me. I used a ladle and scooped the cream off the top. I was surprised at how thick it was! But it was really easy to tell when it stopped being cream and started being milk because the milk looked a little different and thinner in coloring (more transparent) compared to the cream. That was my biggest fear - that I was going to be shaking milk forever and not getting anywhere. 


I scooped it out and put it in a pint canning jar with a lid - One gallon of milk gave me about half a jar of cream which became about 3/4 of a stick of butter and half a cup of buttermilk. 


Then I started shaking and shaking and shaking. By the way, I thought this would be a great project for the kids to help me with, turns out it is - but only for about 5 shakes - then it's all mom. Just to prepare you! I shook it for about 13 minutes when all of a sudden it was no longer making the splash sound in the jar and started making a glug glug sound. I opened it up to peek and it was firming up! I was ecstatic!!! I shook for another 3 minutes or so and then it looked like this!
   

Within another MINUTE from this point it stated to make another sound - this time a MAJOR splashing sound! I looked down and WOW! It had become a ball with buttermilk splashing around! It had completely separated! Yes, I was amazed! 


And here is the finished product! I tried rinsing it with cold water to get the rest of the buttermilk out but I don't really see the point and probably won't do that again since I think it separated enough in the jar. I put it in a container and we're going to try it on homemade rolls tonite! YUM! 

Let me know if you try it and how it turns out!!! It's really fun and the kids were just as amazed as I was how it went from being milk to butter! Oh and a little bonus - if you were to keep doing this every week as you buy the milk, you will get arms of STEEL!! But trust me, if I can do it, you can too! 

In HIS Grip, 
               

I am linked up with: 

    Growing Home

DIY Taggie Crinkly Blankie Tutorial

My daughter loves crackly bags. I mean LOVES them. I would let her play with them in a pinch for entertainment but I was always afraid of her hurting herself or digesting strange substances or something. 

So I came up with this! 
A Taggie Crinkly Blankie! 


I used a Hershey's kisses and a butterscotch chip bag and cut the rough edges off. 
Then my fabric I wanted to use was too thin so I cut out 4 10 inch squares 2 of white for the inside and 2 of pink for the outside. 


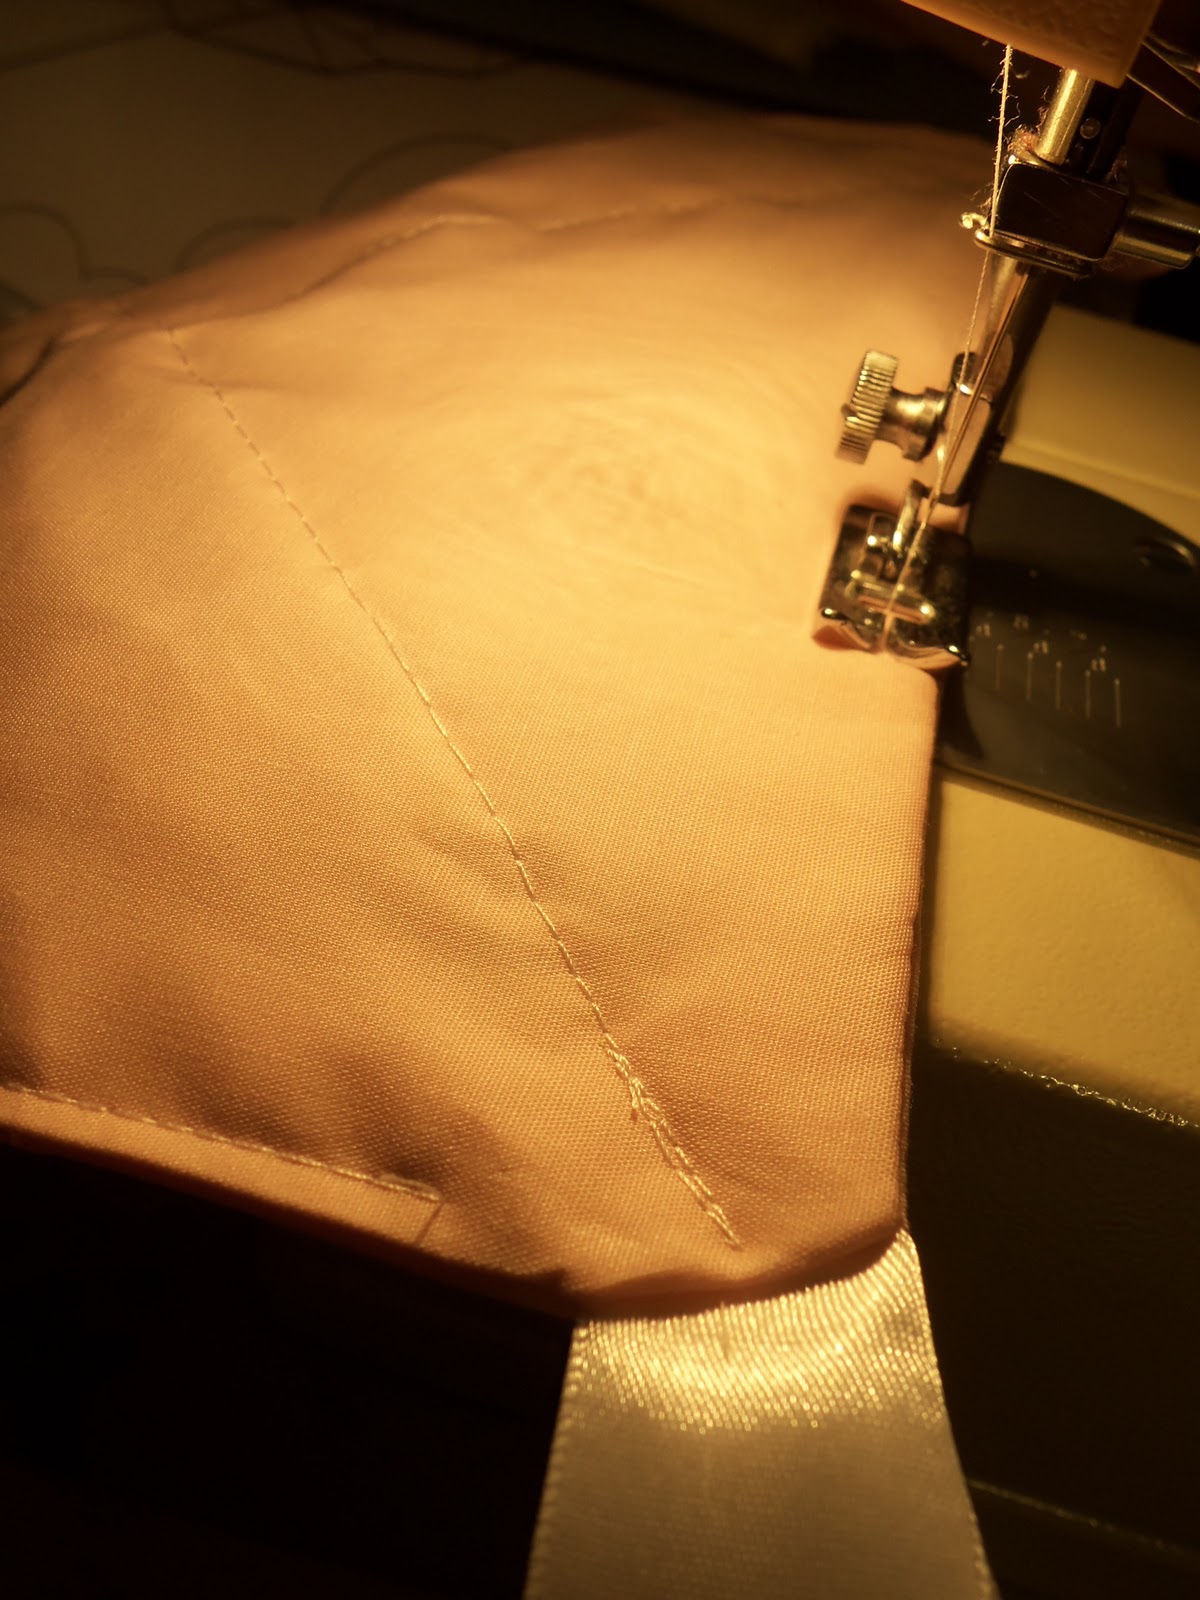
I sewed them together somewhat like a pillow but in the corners, I added a little scrap of ribbon folded over to make the "tags." 


I turned the whole thing right side out.
I left about 3 inches on one side open so I could stick the bags inside then smooth them out on the inside of the "pillow/blankie" 


To keep the bags in place so it could be washed, I sewed an X through the whole thing then along the sides which also sewed my hole shut at the same time. 


Emily LOVED it! I'm really glad that I added the ribbons because she probably wouldn't have figured out the crinkly aspect without them. Oh and guess what! One side smells like chocolate and the other of butterscotch! Gotta start my little girl out right!! :0)

The only thing is, you do not want to throw this in the dryer - I don't know if it would melt the plastic inside or not, but I don't want to find out! 

By the way, this is actually her Christmas present but that's the beauty of babies, you can give them their presents more than once and it's still just as exciting! 

In HIS Grip, 
               
I am linked up with: 

DIY under $5        

My Bathroom - Before and After Rag Painting

It's finally finished!! And I am SOOOO happy! Honestly, I think my bathroom suddenly became classy overnight! So you will know what I mean here is the before picture.


I removed a cabinet that was DESPERATELY needed but it was blocking the light and making it very cramped and dark.

The existing paint was a cream color but it was in flat paint and showing dirt terribly and just needed painted.


I took a dark brown paint and slapped it on paying special attention to the corners and edges of the walls because you really want painted edges.

Then you take a bucket of water and wet your rag - I just used an old hand towel I had - to the point of wetness that you would be using to wipe down your counters or something - just NOT drippy! And don't worry about changing your water - it doesn't matter if it's dirty. You may want to wear plastic gloves or at least take off your rings - because they will get grossly covered in paint - like mine did. 


Right after slapping the paint on, use bouncing/swirling motions to blend the paint and cover the wall. By playing with it you can tell how to make it look good. It was WAY easier than I thought it would be!! I have always been intimidated by painting techniques but trust me this was EASY!


Here is what it looked like before and after paint - doesn't it look AMAZING??? I think so! 


Before and After Pics so you can compare! 


I bought an etagere for above the toilet to replace the cabinet for storage - it actually helps a TON! 


A closer picture of the painting technique! 
Oh and another tip that I wish I knew - Paint tape paint tape paint tape! Trust me - painting with a rag is a LOT harder to keep contained and now I'll need to paint my ceiling because the rag kept getting the ceiling - no biggie just would have been nice to know :0) 

Have you done this paint technique before?

In HIS Grip, 


I am linked up with: 
Domestically Speaking   Growing Home

Superhero Cape for my little Superheroes!

My kiddos were driving me CRAZY yesterday. They were underfoot and demanding and yelling and screaming and AHHHH!!!! One of those days let me tell you! I needed a distraction and just playing outside in the perfect weather was not doing it for them.

Bring in Pinterest. Truly! And this is what I found: Superhero capes. Now what child does not want a cape?

I used old maternity shirts because they are wider at the bottom than a men's T-shirt. And I had plenty of maternity T-shirts that I was wanting to get rid of.


And I even had a pink one and a blue one! YES! 


2 minutes later - I had cut along the seams and around the neck band - DONE!

Needless to say - my kids were quite occupied for the rest of the day. Oh the things that a good dose of imagination will do for you! 


In HIS Grip, 
               
DIY under $5

DIY Fall Family Tree

I LOOOOVE fall. The trees are GORGEOUS this year! They seem especially gorgeous because last year there was a very early frost and the leaves just fell off without turning colors. So I'm loving God's beautiful fall paintings this year!

My family decided to make something else this year and it was so much fun and very easy to do too! I found this on Pinterest. (Yup, SOOOO addicted!)


If you go here you will be taken to the site where you can download a beautiful picture of a painted tree for FREE!!! Can't beat that! They suggest using it for a wedding "guest book" and I think that is a fantastic idea. 
But I'm already married so not using that one! But what I CAN do is use it as a unique family tree! So I did. 

http://styleunveiled.com

I opened the image with Word (or you could use Picnik) and added our family name and the year.
I printed it out on cardstock and gathered my ink pads in Red, Orange, Gold, and Yellow. 

I gathered my clan together and we had a fingerprinting party. Each person got their very own fall leaf color and we put leaves on the tree! In the center of the tree the branches form a heart and my hubbie and I put our fingerprints there in the middle. It's not done this way in the picture yet in case you noticed but I wrote (very tiny) each person's name in one single appropriate fingerprint randomly. It turned our beautifully! I love it and will cherish it forever. 


Here is our very own family tree! I love it and I think we will probably do it every year - I saved the image of the tree on my computer in case they stop offering the free download. 

In HIS Grip, 
               
I'm linked up with: 
DIY under $5

Repurposing an Old Sheet

 After being stained by black permanent marker and an explosive poopy diaper, the rip in my fitted bedsheet was the final straw and my sheets were retired. But I had an idea! I know it has been done before but I felt like a GENIUS when I realized that my crummy sheets could be used to make something AWESOME! So I stripped them. Literally. 

It was SUPER easy! I flipped on a Netflix and sat down with my scissors and went to town! First cut the elastic band off of the edges and pull the elastic out of the strip to be used for something else. 

Cut the elastic off the fitted sheet and pull it out

Then cut a small snip following the threads about an inch apart and pull and tear it! Easy Peasy! I rolled the scraps into balls - I just added strip onto strip. I didn't tie them together. 


I'm waiting for Christmas to come and when my Christmas lights come out of their box - I am SOOOO doing this! Can't you picture this with all white? Soooo pretty! 


I'm also thinking about making (yet another!) wreath but maybe in the shape of an S for our name. 


I think this next idea is genius! I'll never be in a bind for valances again! I'm thinking about doing this for my daughters' room! Only in PINK! I definitely have TONS of pink fabric I could use! 


Oh and the elastic - wrinkled edge? Sooo going to use this to make pretty flowers on pillows or something!

BUT in the meantime - I don't want to work on these projects YET sooo 
So now they are on my piano - sitting pretty! 


In HIS Grip,